Create a website
By clicking the "+" button below the site list, you can enter the site creation process.


You need to select a suitable template from the template list, then copy its template ID and fill it in. Then, follow the instructions in the operation tutorial to obtain Cloudflare's account ID and API token.
Click the "OK" button to create a website.
Initialize site
Click on the newly created site in the site list to enter the initialization interface.
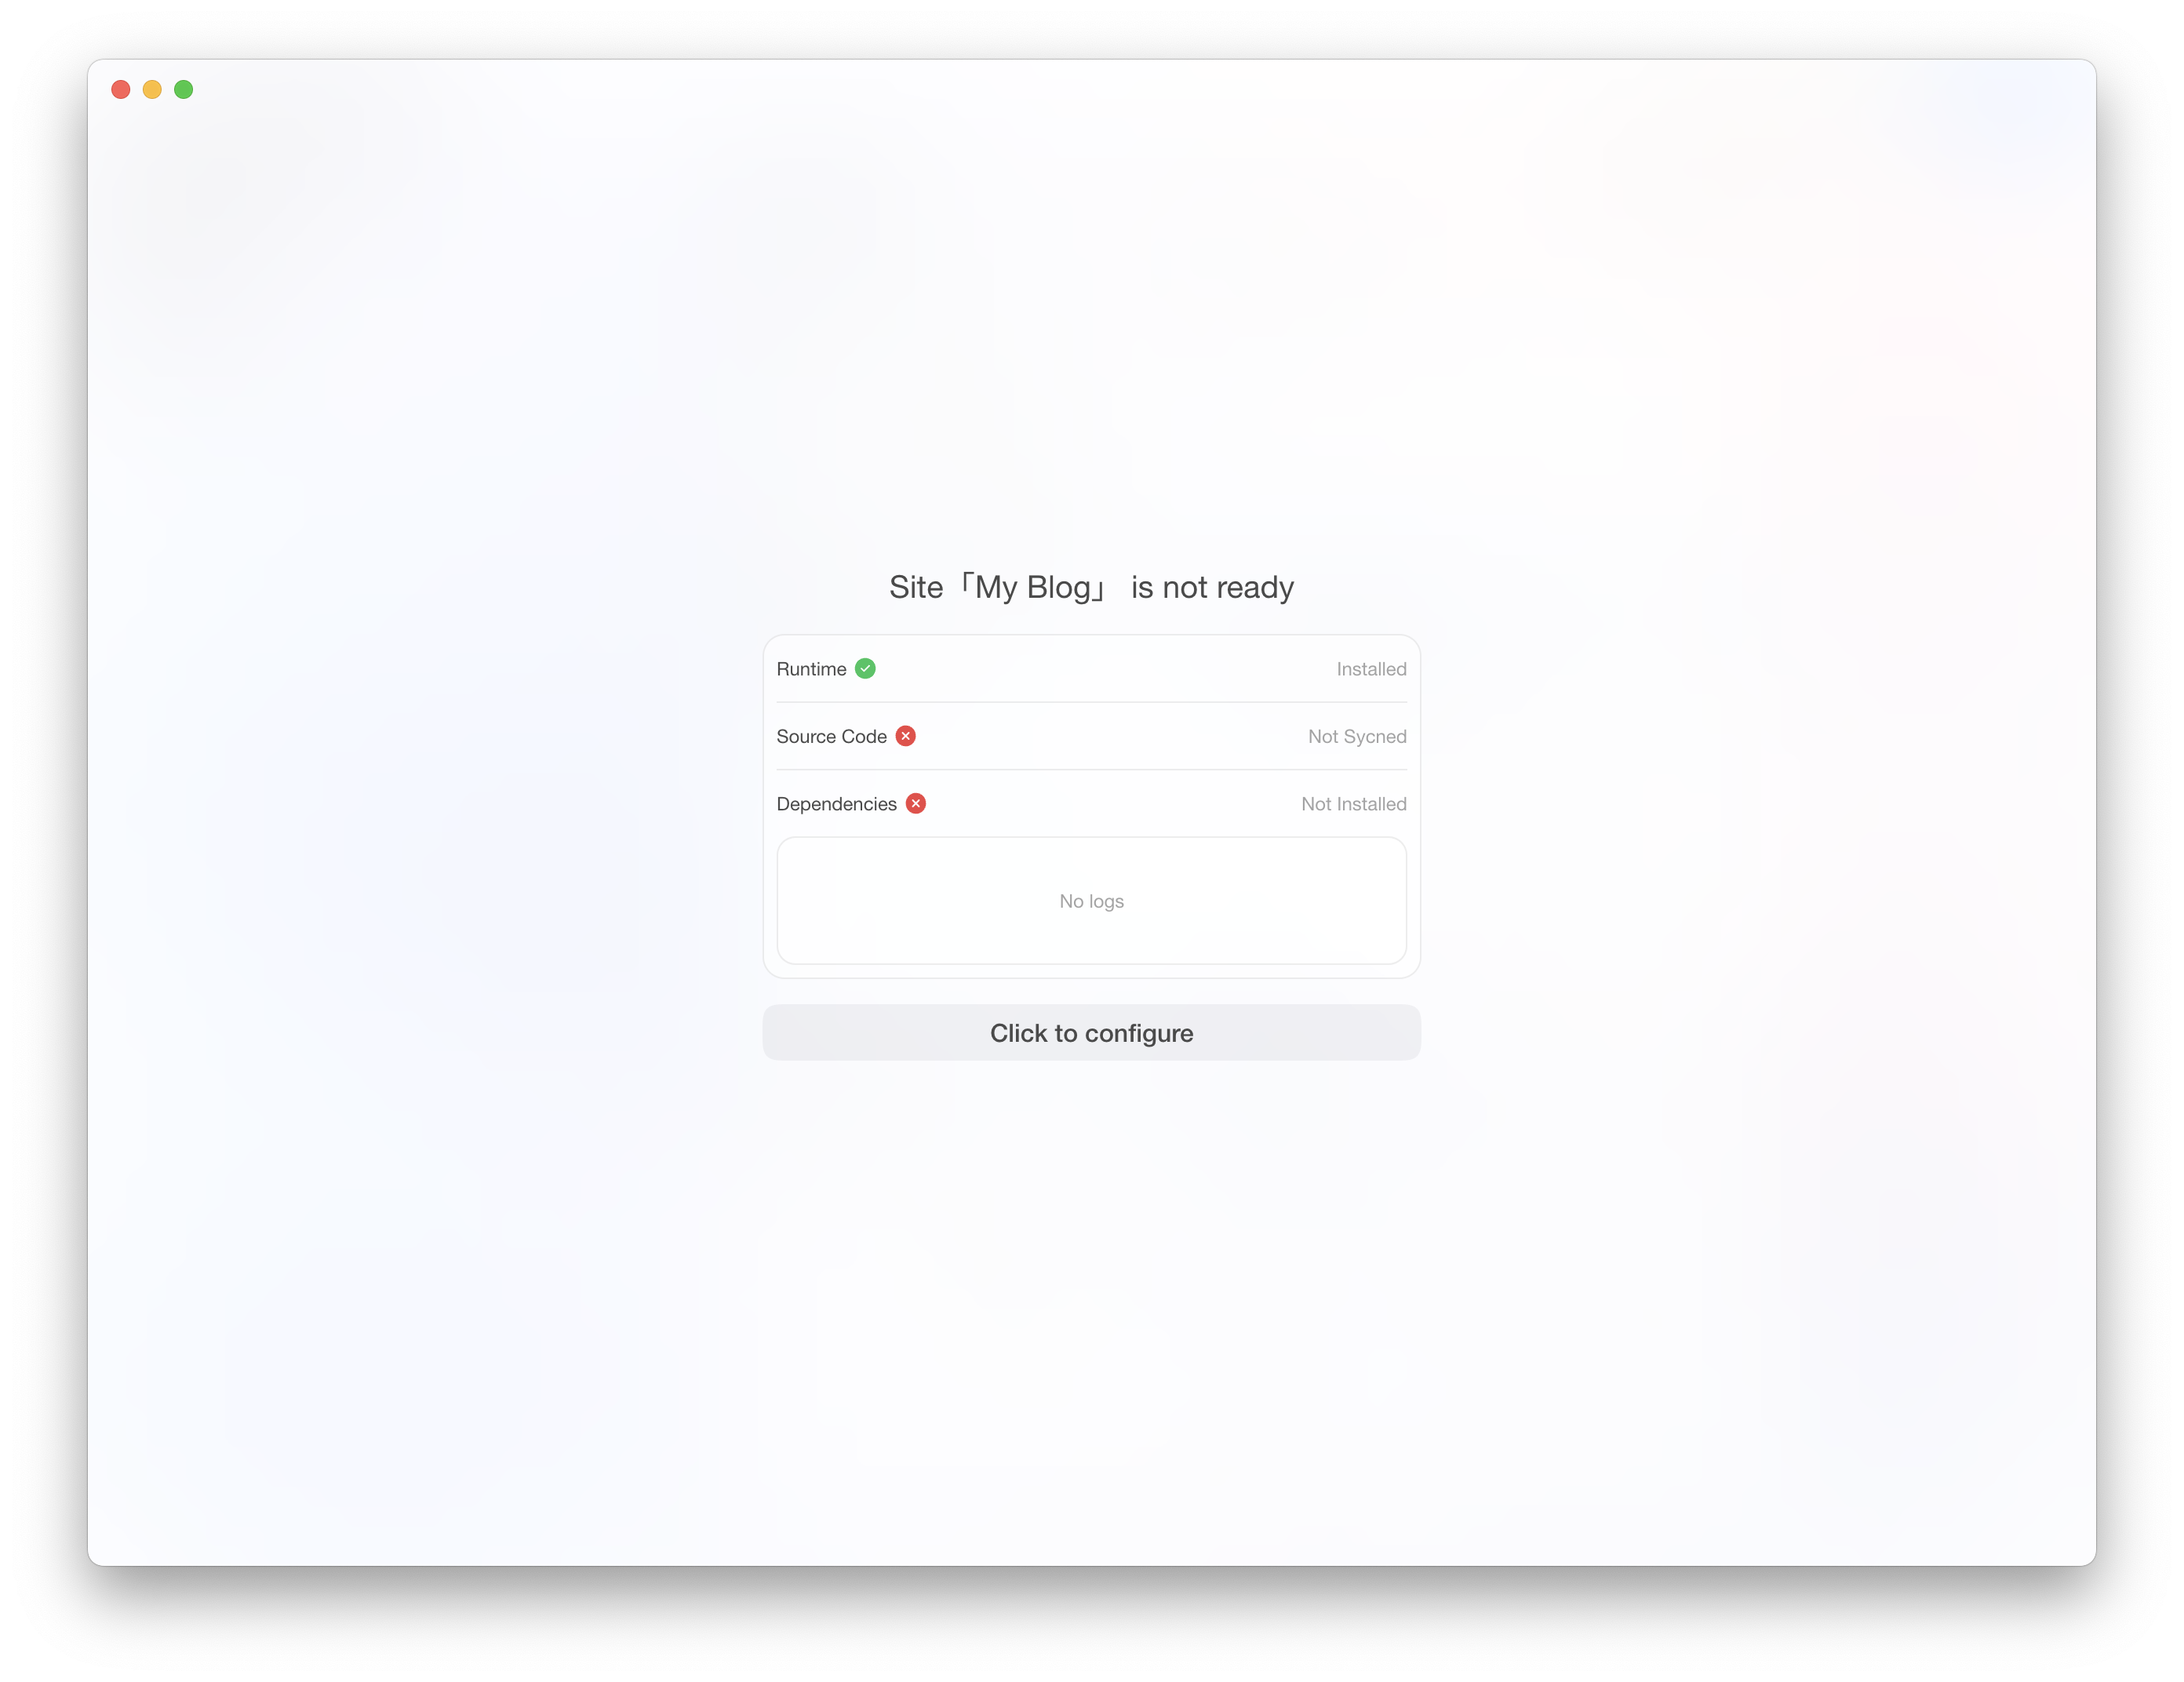
If you have not yet configured the runtime environment, please follow the instructions to download NodeJS.
If the runtime environment is ready, it will display "Installed". Then, please click on a configuration button to download the source code and install site dependencies locally.
If you encounter any issues at this step, please click the "Copy Logs" button and contact THORN support.
Under normal circumstances, after successful initialization, you will see the following interface:
Manage and publish websites.
View local preview

As shown in the image, you can access the local preview of the website and the cloud access endpoint.
Only after it is published, there will be cloud access endpoints.
Only after the local site is launched can the local preview endpoint be accessed.
Site configuration
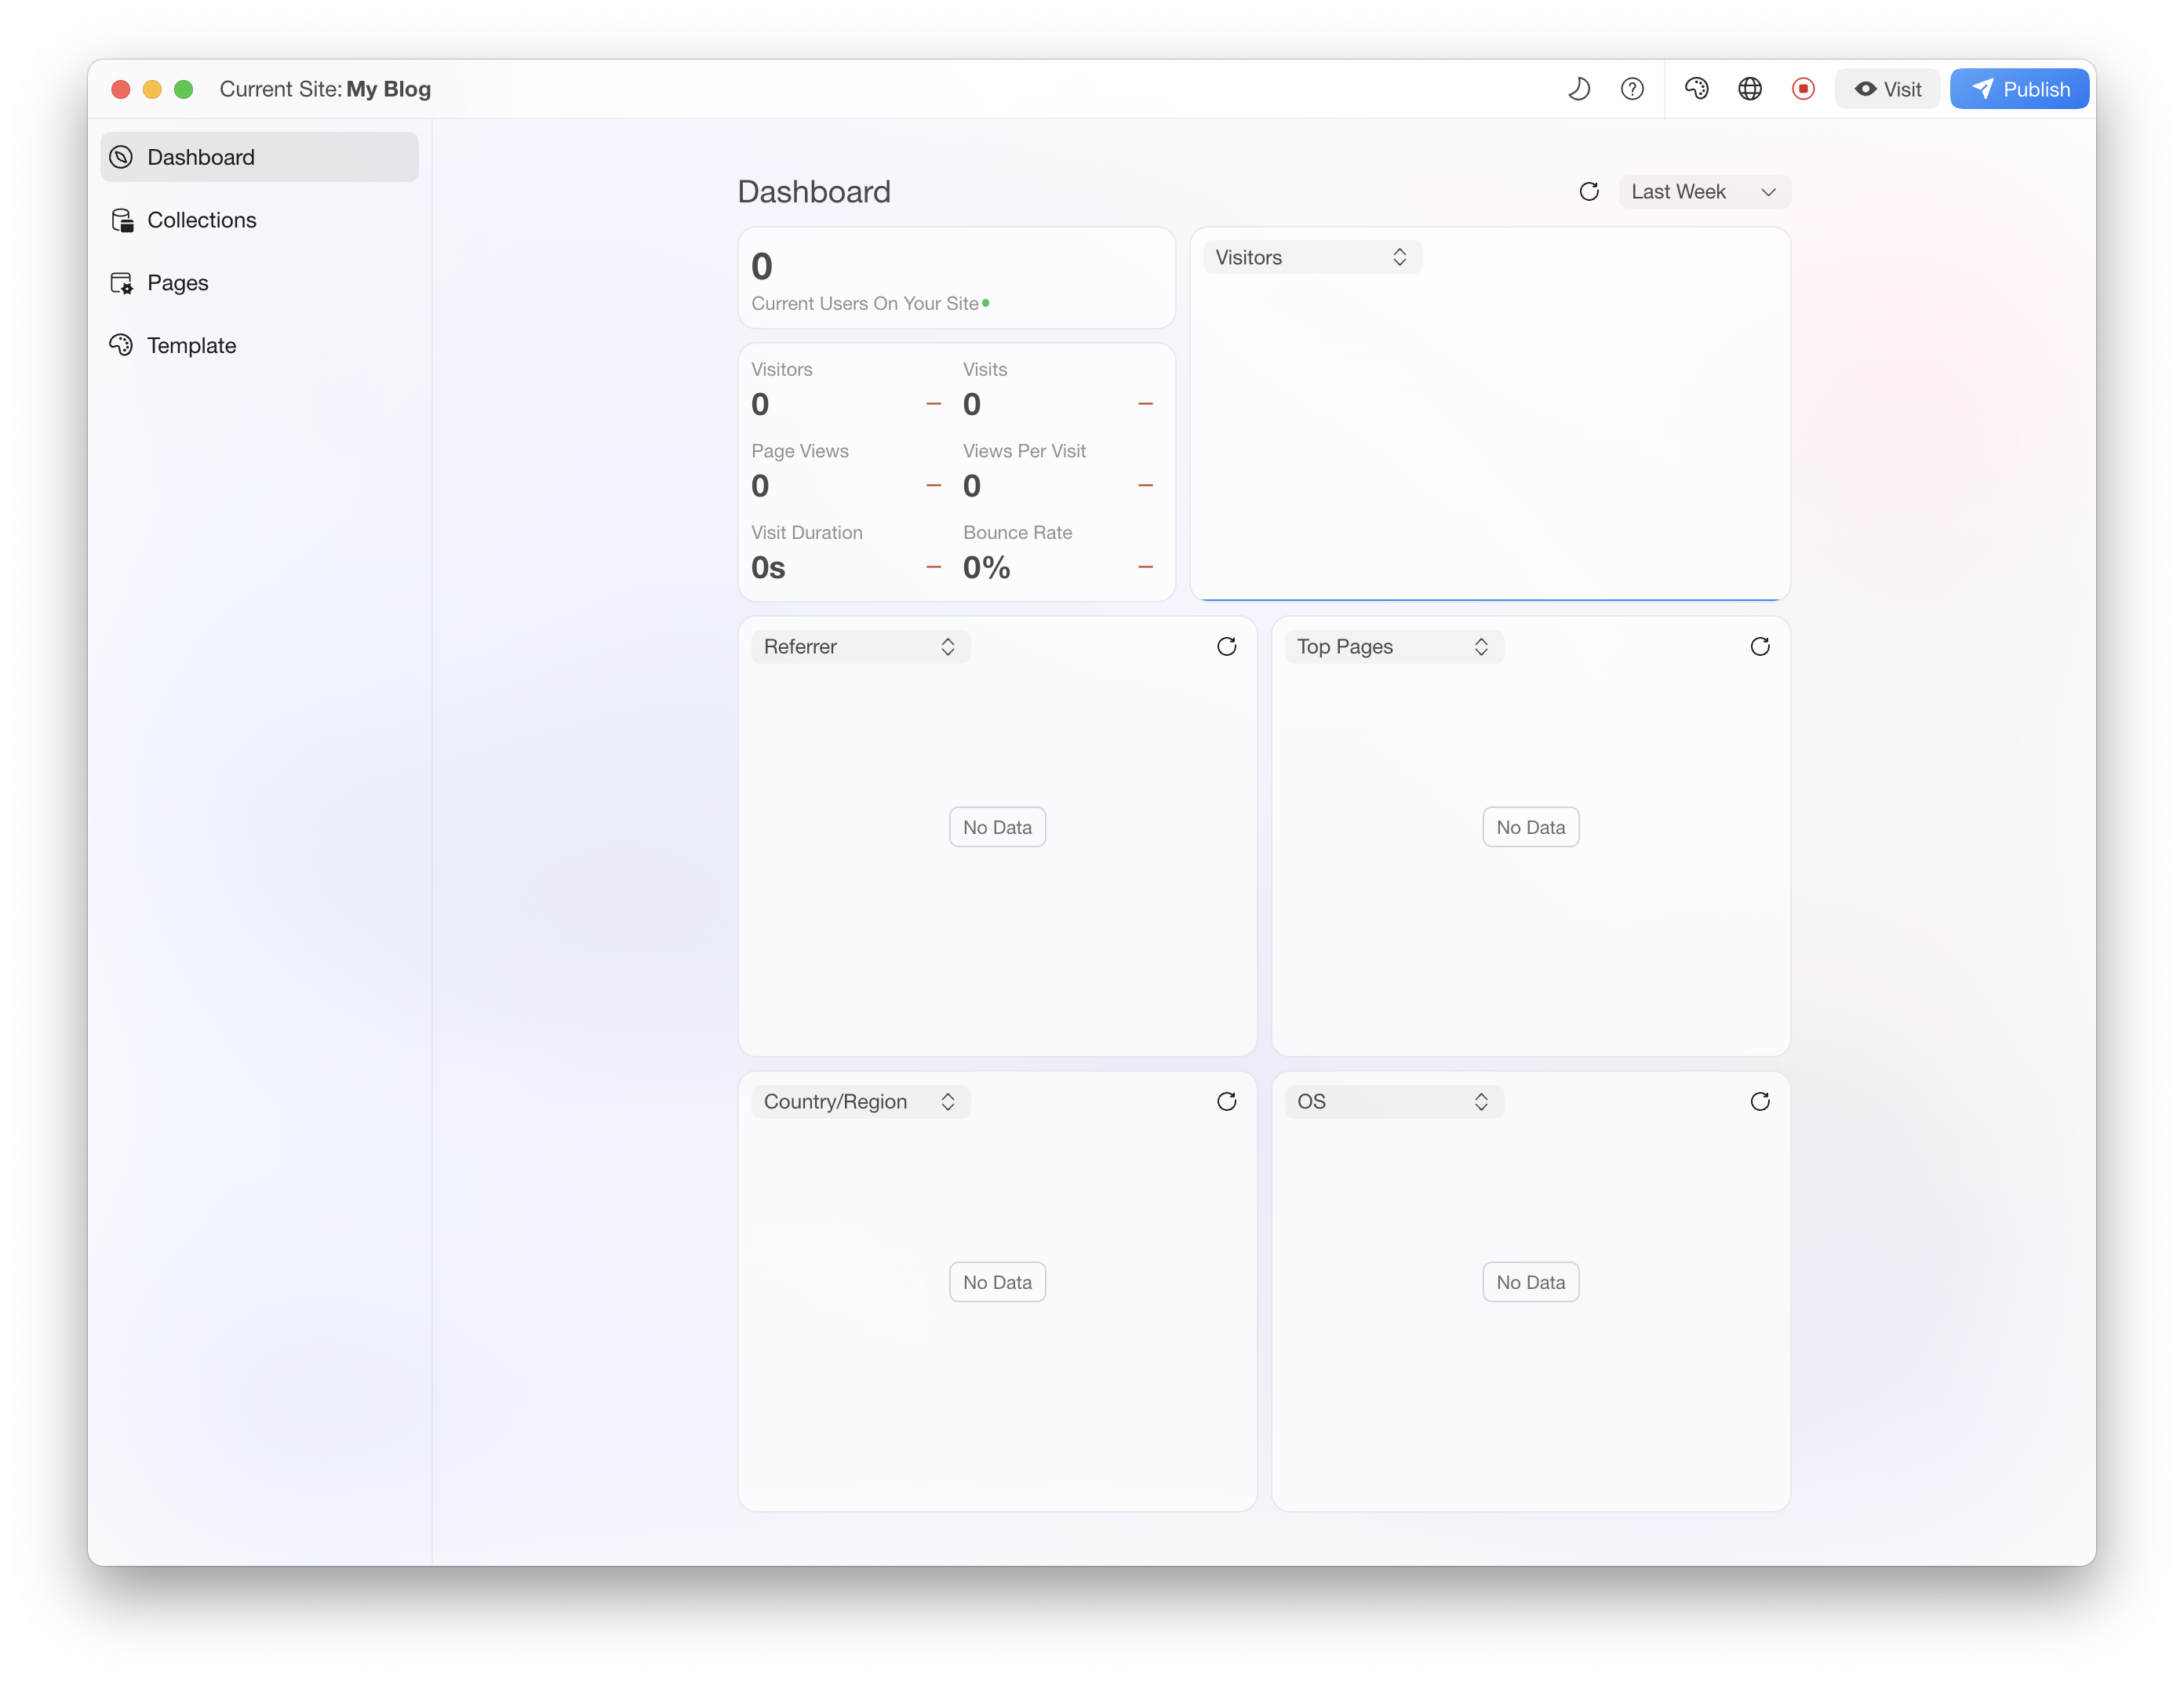
You can configure and manage the content of the site in "Collections" "Pages" and "Template" in the left menu.

Due to the different configurations of each template, it is not further elaborated here.
It should be noted that any modifications you make to the site content in THORN can be seen in real-time on the local preview page.
If you don't see the updated page after modifying the configuration, you can choose to restart the local preview.

Publish your site
First, the site published through THORN will be published in your own Cloudflare account, which is why configuring Cloudflare authentication parameters is necessary when creating a site.
Each release of the site will generate a separate preview URL and corresponding full source code version, so you can view previous deployments and trace the site back to a specific previous deployment. Additionally, you can export the site's source code at any time.
Soon, we will also support binding users' Github accounts to permanently backup source code to Github repositories.
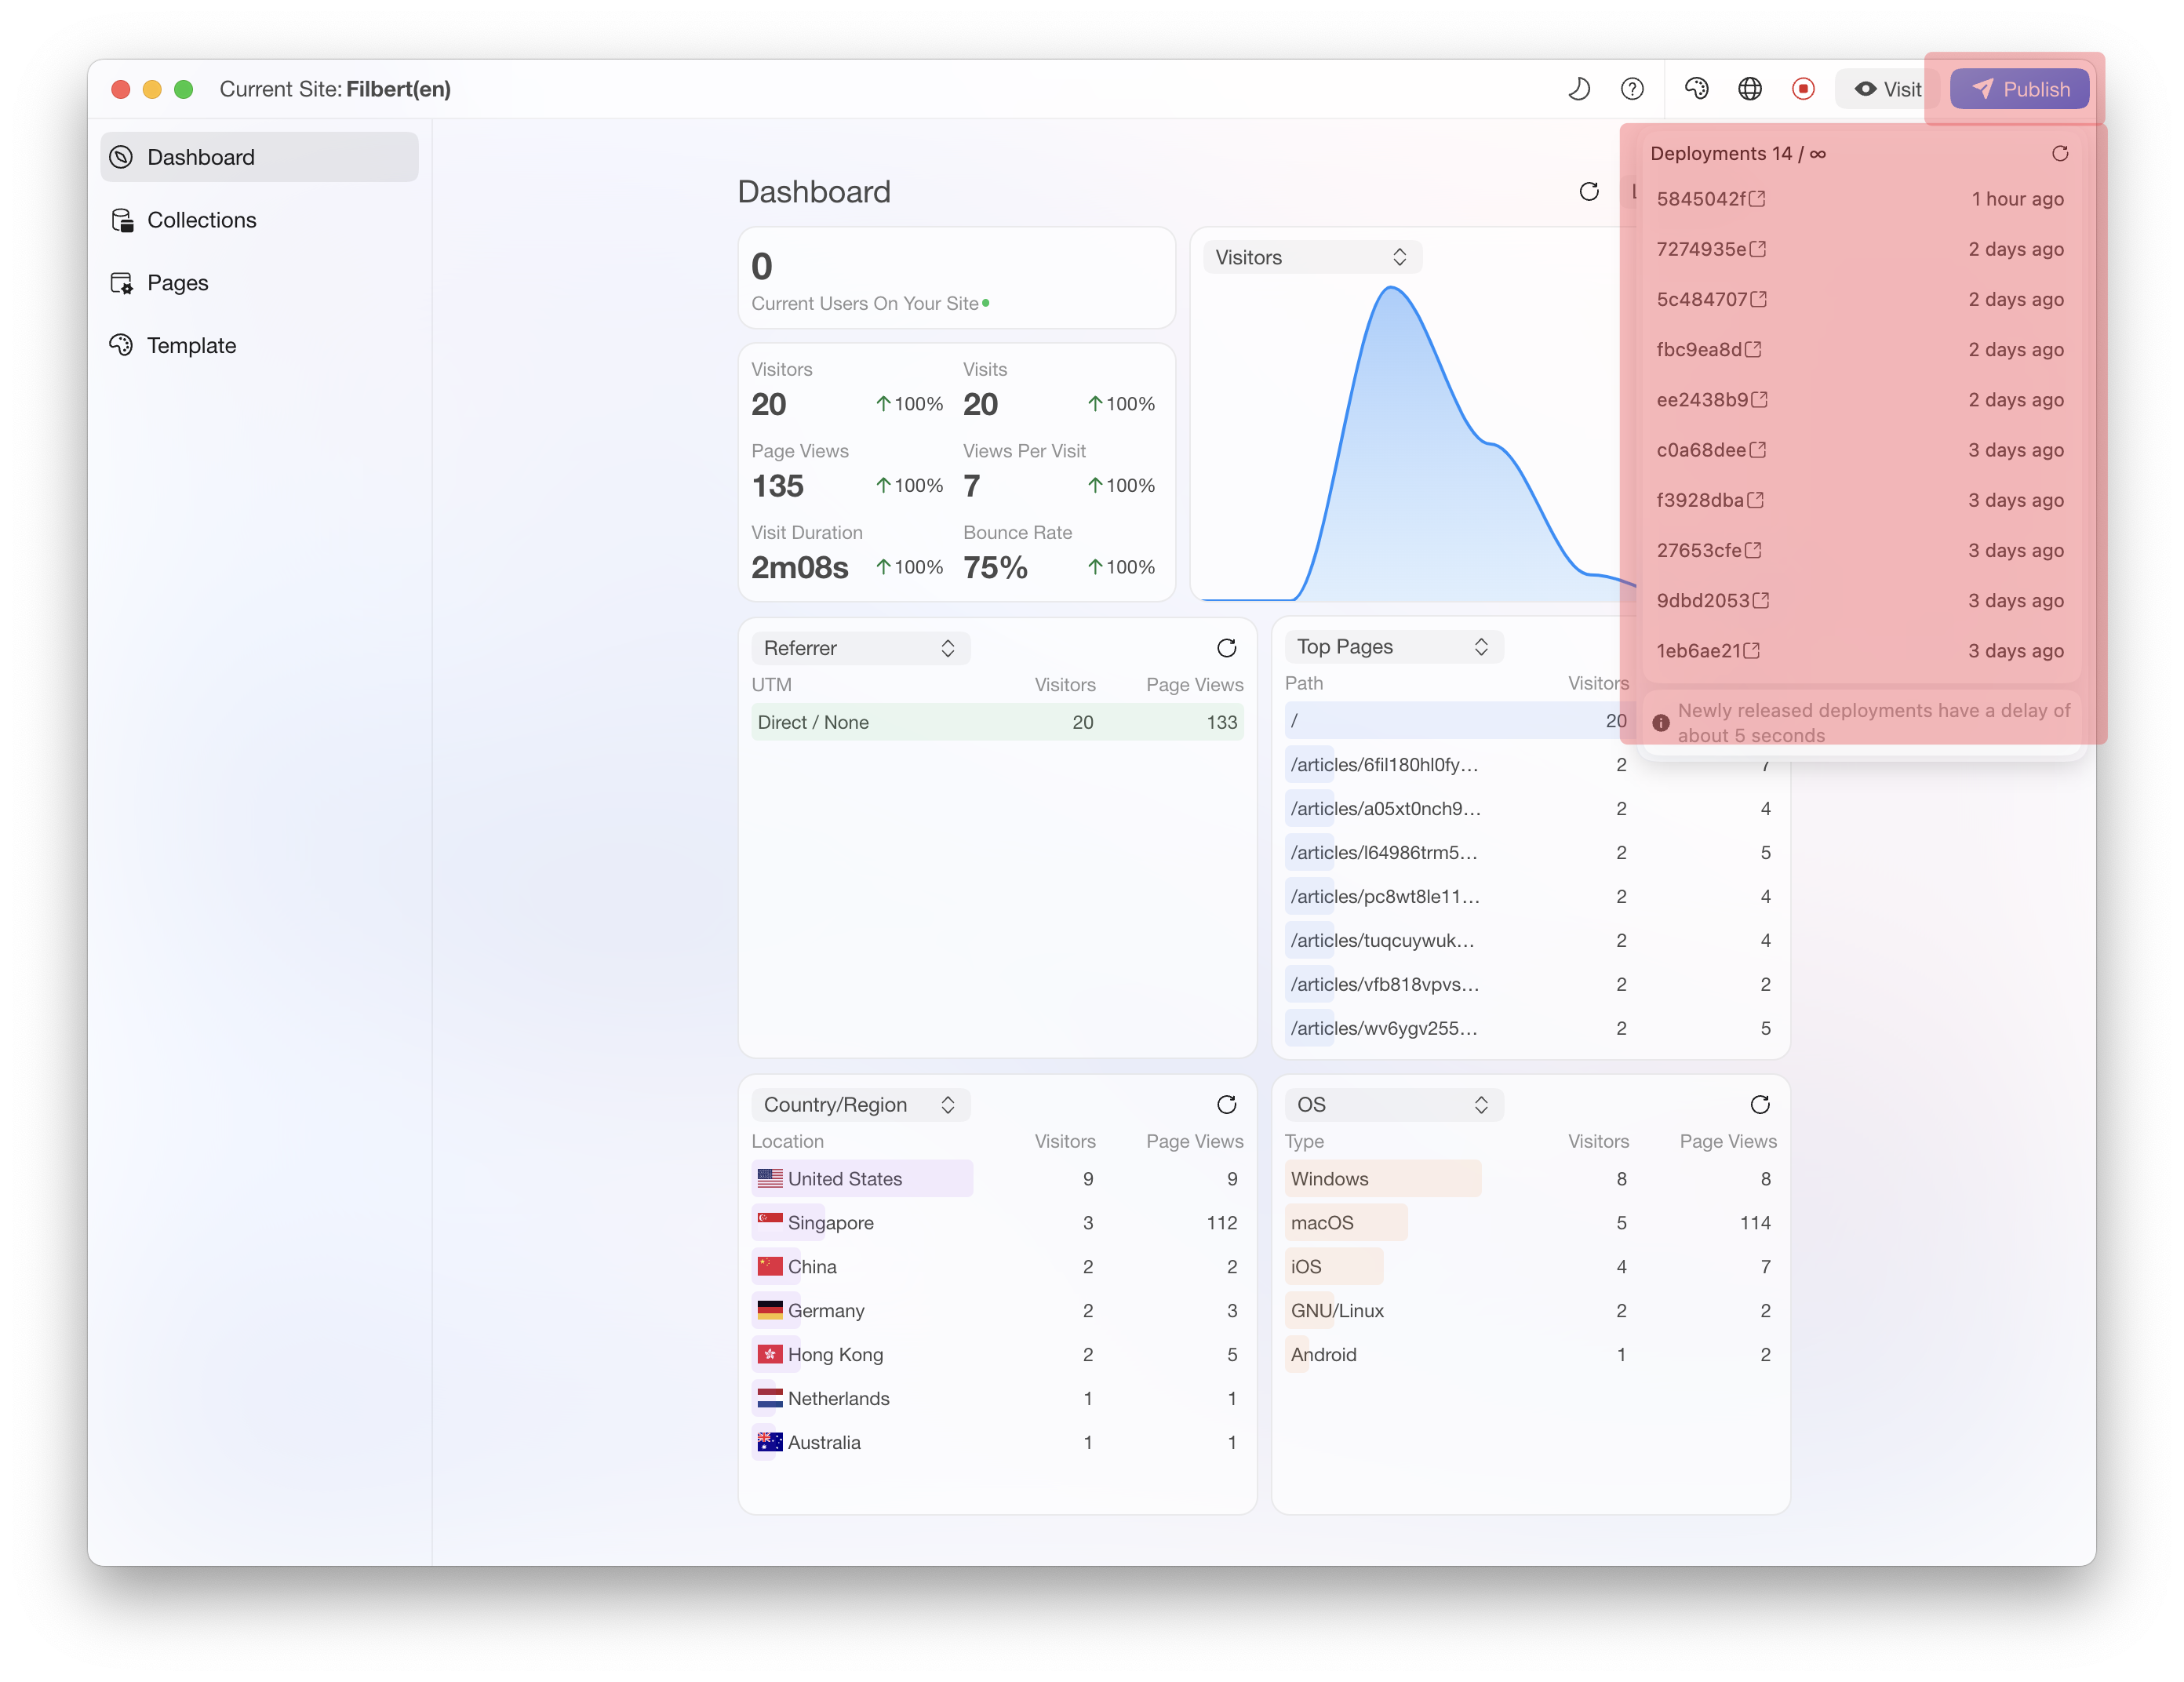
As shown in the above image, you can click on the top right corner to publish the website and view all deployments of the website.